Many Windows 10 users face this application-specific permission settings do not grant local activation permission error. You can easily fix this error with the help of this article.
Fix Application-Specific Permission Settings Do Not Grant Local Activation Permission Error
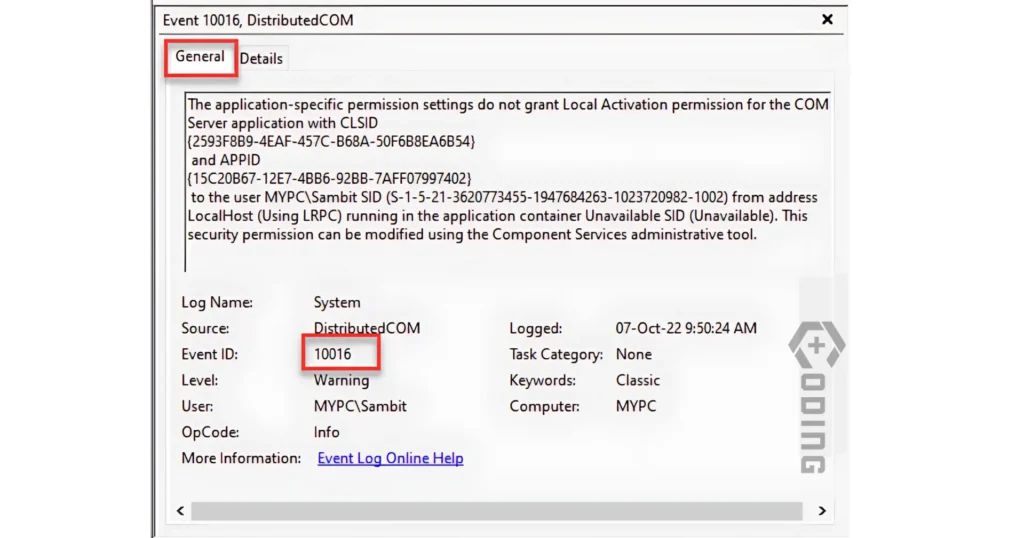
This Error can be found in System Event Logs. The main reason for this error is Invalid Permissions. You can easily fix this error by using the following steps.
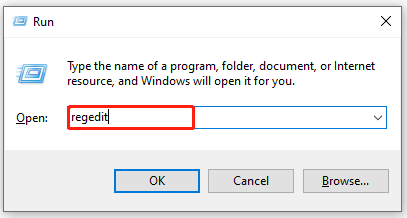
Step 1. Press Windows + R to open the Run dialogue Box, then type Regedit and click Enter.
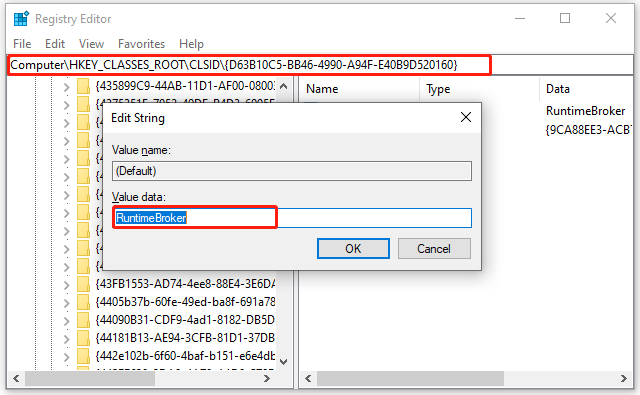
Step 2. Go to this path HKEY_CLASSES_ROOT\CLSID\{D63B10C5-BB46-4990-A94F-E40B9D520160} and Double Click Default Entry Key, Zand Not cDown its Value Data.
Step 3. Now Navigate to the path HKEY_CLASSES_ROOT\AppID\{9CA88EE3-ACB7-47c8-AFC4-AB702511C276} and Then right click {9CA88EE3-ACB7-47c8-AFC4-AB702511C276} in the left side and select permissions.
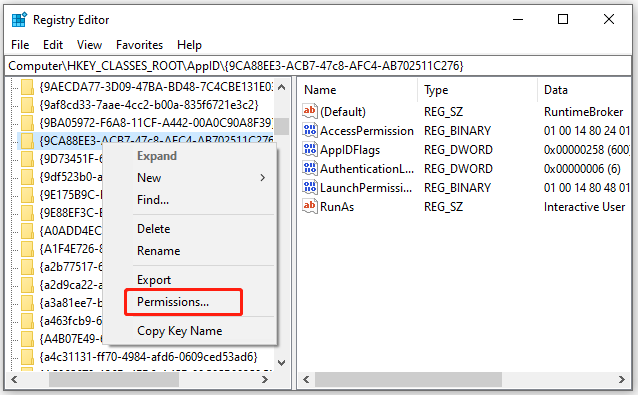
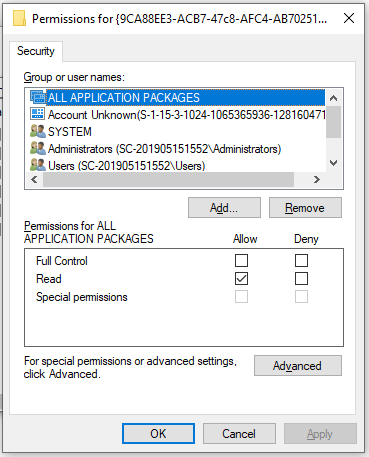
Step 4. In the Permissions Window, Click Advanced.
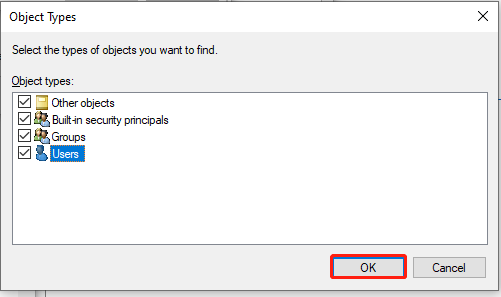
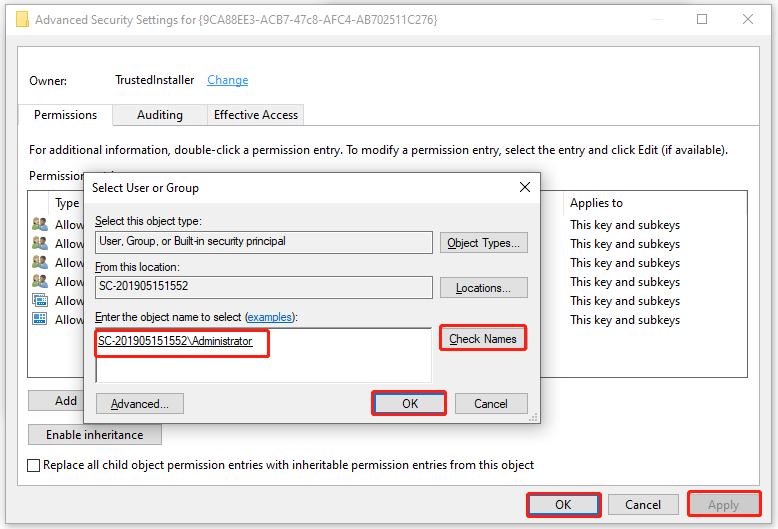
Step 5. Click on the Change link next to the TrustedInstaller option. A pop-up Window will appear, click on Object Type, select Users, and click OK.
Step 6. Click Locations select your Desktop name, and click OK.
Step 7. Enter your username and click on Check Names. After that, click on OK and Apply in the Advanced Security Settings window.
Step 8. Get Back to Permissions Window.
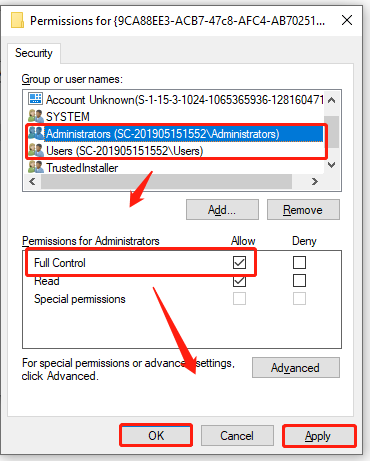
Step 9. Select Administrators and tick the checkbox for Full Control, Then select Users and check the Full Control option again. Once done, click on OK and Apply to save changes.
Step 10. Now Open the Run dialogue box again Type dcomcnfg.exe and Click Enter.
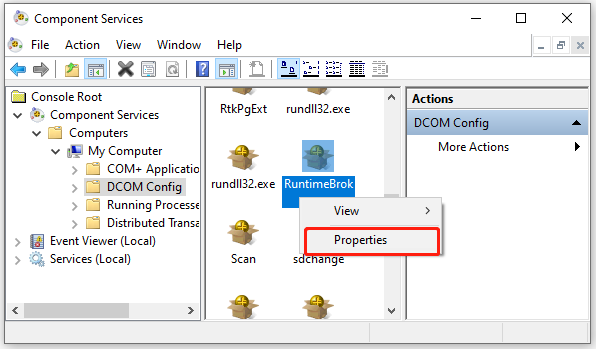
Step 11. Navigate to the path Component Services>Computers>My Computer>DCOM Config, then Right-click RuntimeBroken and select Properties.
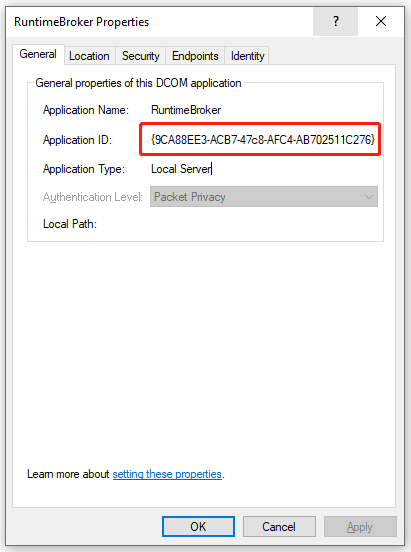
Step 12. If your Application ID is 9CA88EE3-ACB7-47C8–AFC4–AB702511C276. Then go to the Security tab, and select Customize, and click on Edit. Click Remove on Windows Security Prompt.
Step 13. Click on Add, and then type NT AUTHORITYLOCAL SERVICE and click OK. In case you do not have NT AuthorityLocal Service, you can type Local Service.
Step 14. Now Grant Full Control to Local Activation Permission.
Now, your Application-Specific Permission Settings do not Grant local Activation permission Error is resolved and your application will work properly.
Read More: Error Handling In Compiler Design